How to Set Up Passkeys for Google Accounts
Kate Bennett • July 23, 2025

What is the Best Way to Secure Google Accounts?

          Setting up a passkey is the easiest way to secure access to your important online accounts. You can use a passkey—stored on your device or password manager—instead of a password, and log in by verifying with your PIN, fingerprint, or face. Passkeys can be stored in Security Keys- devices used to add a layer of security to data access. Security Keys can range from little USB sticks to cards. 


          Below is a step-by-step guide on how to set up passkeys on your google account using security keys. You can find these instructions in a video tutorial
linked here, or click below.

Step One: Go to 2-Step Verification in Google Settings


1. Find and click your profile icon on the top right of your Chrome window, next to Gmail &  Images. Once this pop-up opens, click the button labeled “Manage your Google Account.” 

2. On this new page, go to the menu options on the left-hand side of the screen. Click on “Security”. 

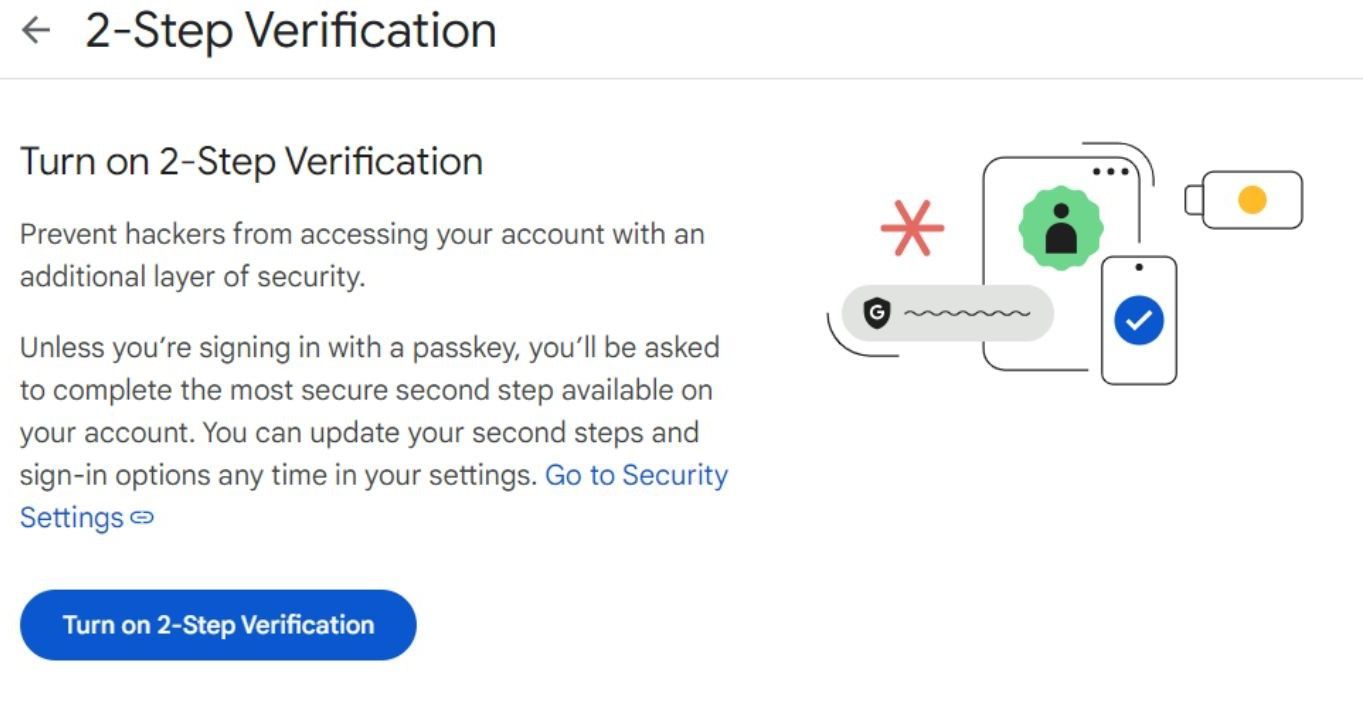
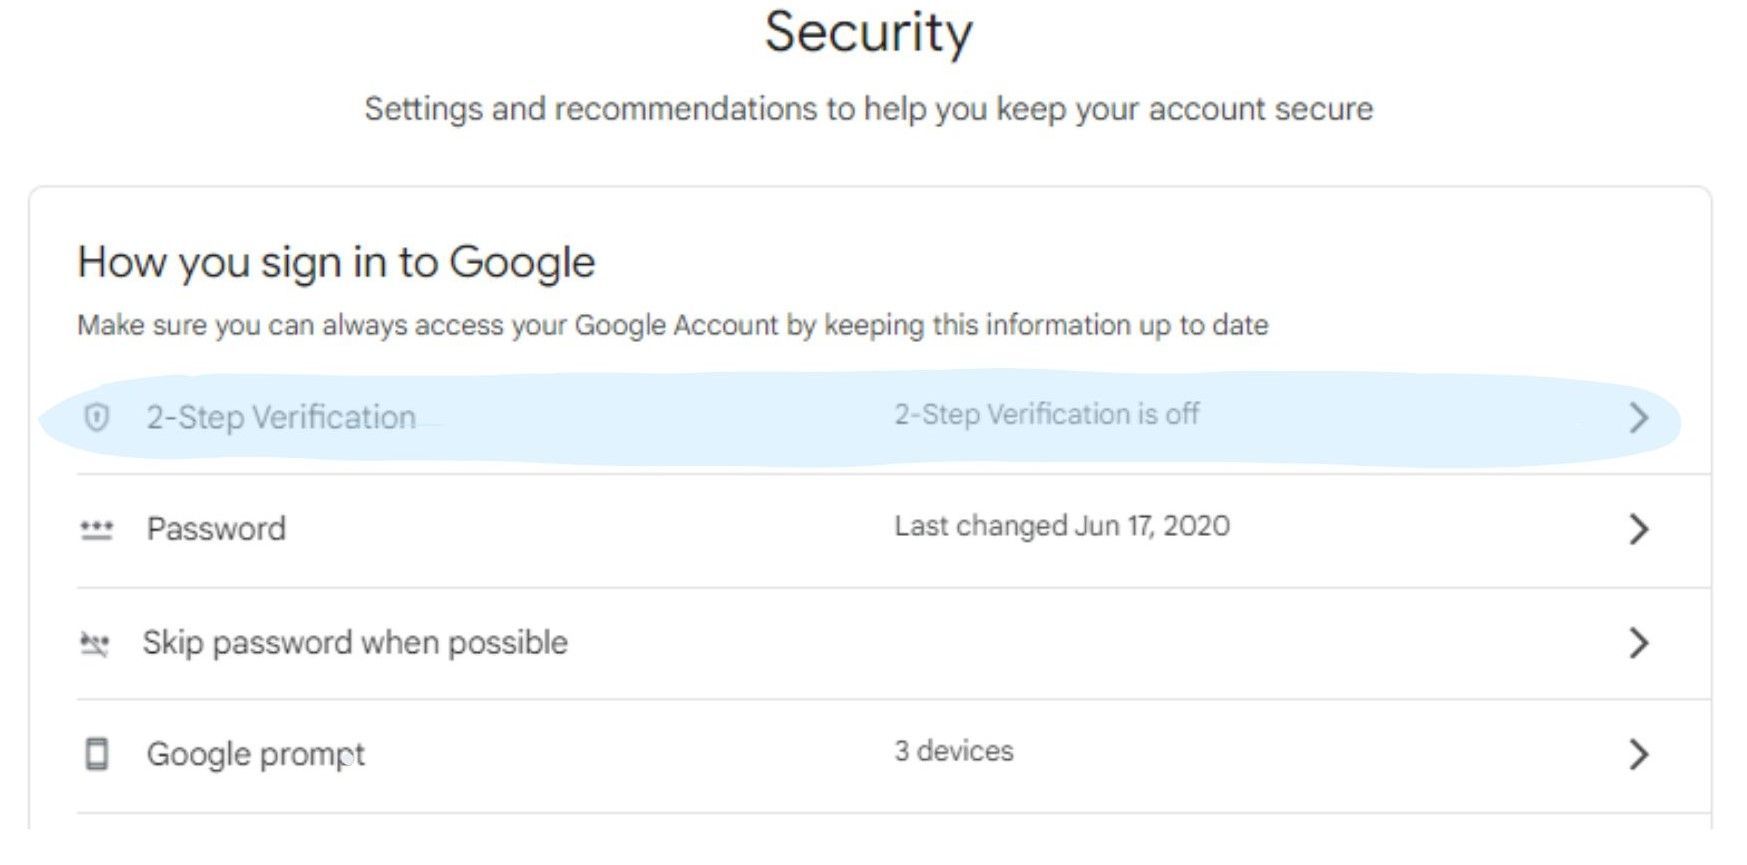
3. Once on the Security page, select “2-Step Verification”, under “How you sign in to Google” (Image shown left.) 


Step Two: Add your Security Key


1. Once on the 2-Step Verification page, go to the “Second Steps” section. Select “Add a security key”. 

2. Click on “Use a Security Key” (pictured right)

If you are on Windows, a few popups will appear; select “OK” for all. 

3. You will be prompted to insert your security key into your device's USB port

4. Once the device reads the key, you will be asked to “Touch your security key.” 

5. After setup is complete, you will be asked to turn on 2-Step Verification to use your passkey. 

Step 3: Turn on 2-Step Verification

1. After registering the key, you will be asked to turn on 2-Step Verification to use your passkey. Click the “Continue” button at the bottom right of the popup. 

2. You will be taken back to the 2-Step Verification page. Click the dark blue “Turn on 2-Step Verification" button. (Can be seen in the left image.) 

3. A pop-up will appear letting you know that your account is now protected. Press “Done”.  


Step 4: Name your Passkey


1. To name your unique passkey, select “1 security key” under the “Second steps” section of the 2-Step Verification page. 

2. On the bottom of the page, you will see your passkey displayed. Select the pencil icon to edit your key. 

3. Enter up to 20 characters and name your unique passkey. Press “Save” when finished.

4. Your passkey is officially ready to secure your Google account. This passkey will help to safeguard your info stored across the Google system- from your emails to docs to photos and more. 


Want to Learn More About Passkeys?

Read some more of our material:


Have questions about passkeys or other identity technologies?

We can help, contact our team to discuss at (858) 622-2004 or mfa@txsystems.com

By Kate Bennett July 30, 2025
Q&A: General Understanding
By Kate Bennett July 3, 2025
US Manufacturers: More Reputable, Less Expensive
By Kate Bennett June 24, 2025
Compact, Powerful, and Built for Life on the Move
More Posts